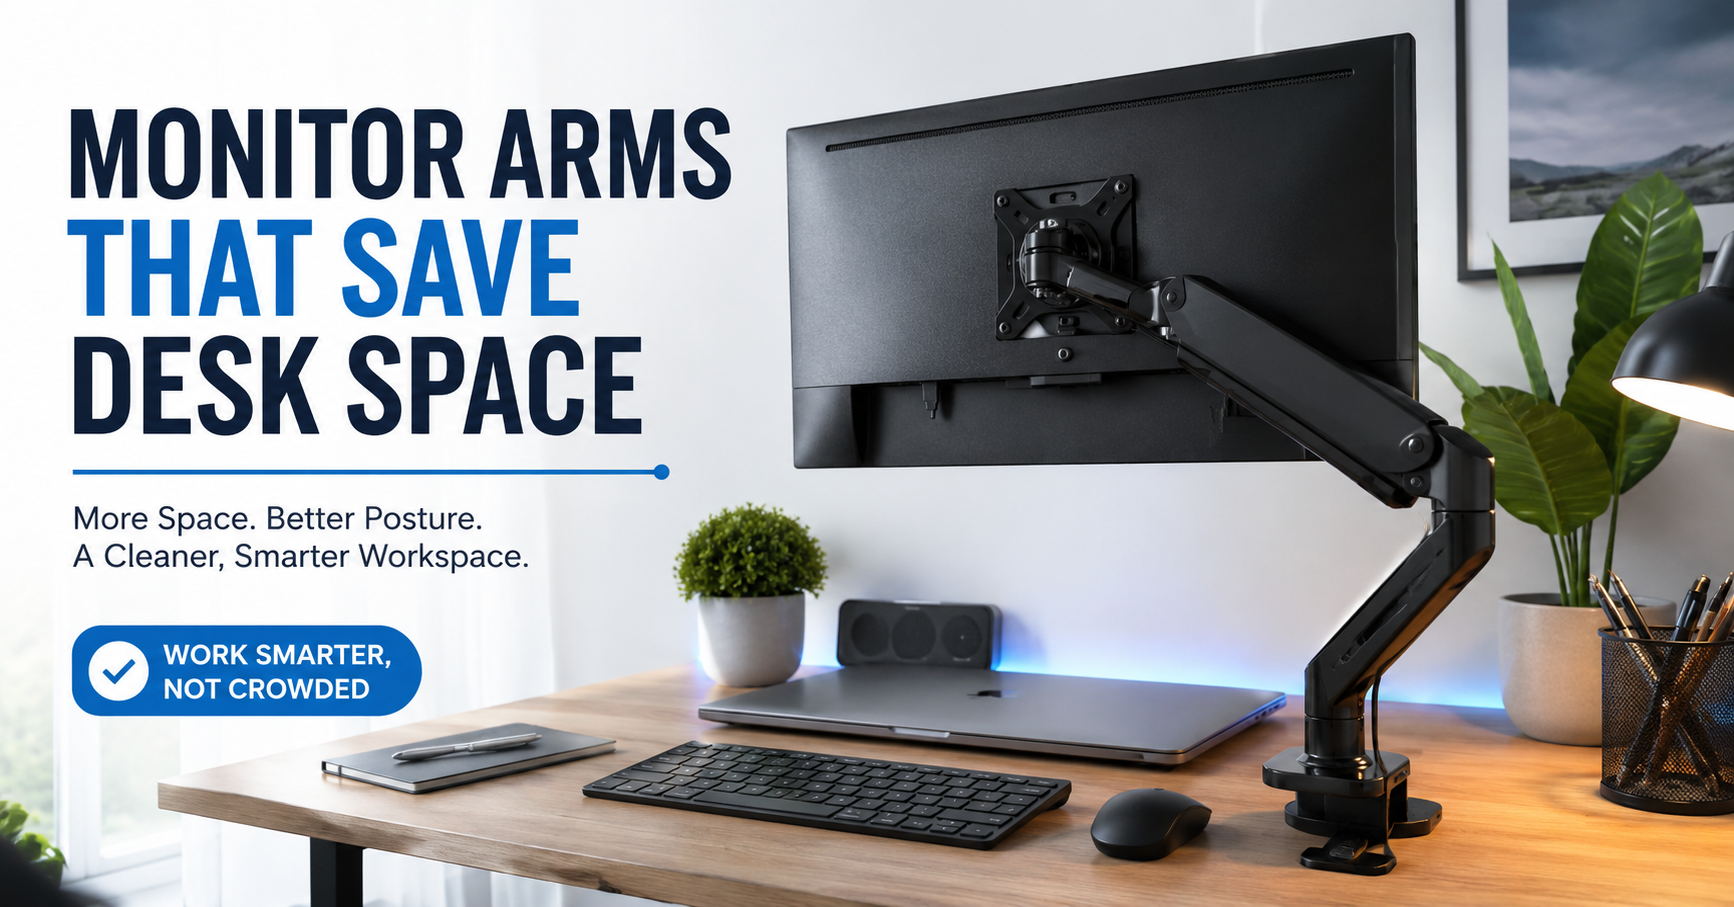
I noticed the problem the first time I tried to fit a laptop, monitor, keyboard, speakers, and a few everyday things onto a small desk. The monitor itself wasn’t especially large, but its stand seemed to occupy a ridiculous amount of space.
The keyboard had to sit farther forward, my notebook was pushed to one side, and there was barely enough room for a cup of coffee.
That’s when I tried a monitor arm.
The difference was bigger than I expected. Removing the original monitor stand didn’t just make the desk look cleaner—it gave me a useful section of desktop back. I could move the keyboard when I needed more writing space, slide my laptop underneath the monitor, and keep smaller accessories where the monitor base used to be.
If you’re working with a small desk, a monitor arm can be one of the simplest ways to make the existing space feel considerably larger.
Why Monitor Stands Take Up So Much Space
A traditional monitor stand needs a fairly wide and deep base to keep the screen stable. Some stands are particularly bulky, especially those included with larger monitors.
The annoying part is that the stand occupies the most useful part of the desk: the area directly in front of you.
A monitor arm changes that arrangement. Instead of supporting the screen with a large base sitting on the desktop, the arm usually attaches to the back edge of the desk with a clamp or mounts through a hole in the desktop.
The screen is then suspended above the desk.
That leaves the surface underneath available for other things.
For a compact workstation, that’s a surprisingly valuable change.
How Much Space Can a Monitor Arm Actually Save?
It depends on the monitor and its original stand, but the biggest advantage isn’t necessarily the exact number of square inches you gain.
It’s how you can use the space.
For example, after moving a monitor onto an arm, the area beneath it can become useful storage for:
- A laptop
- Keyboard
- Notebook
- External hard drive
- Small speakers
- Charging accessories
- Documents
- Desk organizers
You can also push the monitor farther toward the back of the desk, creating more usable space in front.
This is particularly helpful with desks that are only around 40–48 inches wide or relatively shallow.
My Favorite Thing About a Monitor Arm: Flexibility
At first, I thought a monitor arm was mainly useful for saving space.
After using one for a while, I realized the adjustability was just as useful.
With a fixed monitor stand, you generally have one position. You can move the entire stand, but that’s about it.
With an adjustable arm, you can usually change the monitor’s height, distance, and angle.
For example, if I’m concentrating on something on the screen, I can bring the monitor slightly closer. If I’m writing on paper, I can move it back and open up more space.
That flexibility makes a small desk feel less restrictive.
Choosing Between a Single and Dual Monitor Arm
This is one decision worth thinking about before buying anything.
Single Monitor Arm
A single arm is the easiest option if you use one monitor.
It’s generally simpler to install and leaves plenty of open space around the screen.
For a compact desk, I’d usually start here rather than buying a dual-monitor setup simply because it looks impressive.
Dual Monitor Arm
A dual monitor arm makes sense if you actually use two screens.
For example, you might have:
- A main monitor for your browser or design software
- A second screen for email, research, analytics, or communication
Two monitors can be excellent for productivity, but they also add considerable weight to the setup.
Before buying a dual arm, check the weight capacity for each arm and make sure your desk can handle the mounting system.
Clamp Mount vs. Grommet Mount
There are two common ways monitor arms attach to desks.
Clamp Mount
A clamp attaches to the rear edge of the desk.
This is usually the easiest option because you don’t need to drill a hole.
I prefer this approach for rented spaces or desks that I don’t want to permanently modify.
However, you need enough clearance behind the desk for the clamp.
It’s also worth checking whether the back edge of your desk is suitable for clamping. Some desks have unusual frames, drawers, cable trays, or very thick edges that can interfere with installation.
Grommet Mount
A grommet mount goes through a hole in the desktop.
It can create a very secure installation and looks clean when properly installed.
The downside is obvious: you may need to drill a hole if your desk doesn’t already have one.
For most people, a good clamp mount is the simpler starting point.
Check Your Monitor Before Buying
This is one mistake that’s easy to make.
Don’t buy a monitor arm based only on the size of your monitor.
Check the monitor’s mounting system.
Most monitor arms use a VESA mounting pattern, commonly 75 × 75 mm or 100 × 100 mm, but you should verify the exact specification for your monitor.
Also check the monitor’s weight without its original stand.
The arm needs to support the actual weight of the display, not simply its screen size.
For example, two 27-inch monitors can have very different weights depending on their construction.
Don’t Forget Your Desk
The monitor arm isn’t the only thing carrying the load.
Your desk matters too.
Before installation, check:
- Desktop thickness — Make sure it falls within the arm’s supported range.
- Desk material — Solid wood and sturdy engineered wood can behave differently from thin particleboard.
- Rear clearance — Make sure the clamp can actually fit.
- Desk frame — Check whether a metal frame blocks the mounting point.
- Overall stability — A lightweight desk can wobble when a monitor is extended outward.
That last point caught me off guard.
A monitor arm can technically support a screen while still making the desk feel less stable if the desk itself is lightweight.
A Simple Installation Process
Once you’ve confirmed compatibility, installation is usually straightforward.
Step 1: Clear the Desk
Remove your monitor, keyboard, laptop, and everything else around the installation area.
This gives you room to work and prevents accidental damage.
Step 2: Attach the Base
Secure the clamp or grommet mount according to the manufacturer’s instructions.
Don’t immediately crank it as tight as possible.
Position everything correctly first.
Step 3: Attach the Arm
Install the arm onto the mounting base.
At this stage, check that it moves correctly before putting the monitor on it.
Step 4: Prepare the Monitor
Remove the original stand and expose the VESA mounting points.
Keep the original stand and screws somewhere safe. You may need them if you ever sell the monitor or return the setup to its original configuration.
Step 5: Attach the Monitor
This is the part where an extra pair of hands can be helpful, especially with a large 27- or 32-inch display.
Secure the monitor firmly to the arm.
Step 6: Adjust the Tension
Many arms have tension adjustments.
If the monitor slowly drops, the arm may need more tension.
If the arm feels extremely stiff, it may need less.
Don’t assume the factory setting will be perfect.
Step 7: Manage the Cables
Once the monitor is positioned correctly, route the power and display cables through the arm’s cable channels if available.
This is where the setup starts looking much cleaner.
Cable Management Makes a Bigger Difference Than I Expected
A monitor arm can save physical space while still leaving the desk looking messy if you don’t deal with the cables.
The monitor may now be floating beautifully above the desk, but you could still have HDMI, DisplayPort, USB, and power cables hanging everywhere.
I recommend adjusting the monitor position first and doing cable management afterward.
Otherwise, you may neatly route everything and then discover that moving the monitor pulls the cables tight.
A simple combination of cable clips, Velcro straps, and the arm’s built-in cable channel is usually enough.
The Best Position Isn’t Necessarily the Highest Position
One mistake people make is raising the monitor as high as possible just because the arm allows it.
Higher isn’t automatically better.
Start with the monitor roughly centered in front of you and adjust it until the screen feels comfortable to view without constantly tilting your head.
Then test it for a while.
Don’t judge the position after 30 seconds.
Spend an hour working normally and see whether the height and distance still feel natural.
The advantage of an adjustable monitor arm is that you can keep experimenting until you find the position that works for your desk and workflow.
A Monitor Arm Is Especially Useful for Small Desks
If your desk is narrow, every bit of surface area matters.
Imagine a small desk with a monitor stand taking up a large section in the middle.
Removing that stand can give you room for a keyboard when you’re using the monitor, a laptop when you’re working on another device, or even a notebook and writing space.
This makes monitor arms particularly useful for:
Small Home Offices
You don’t necessarily need a larger desk. You may simply need to use the existing surface more efficiently.
Bedroom Workstations
If your workstation shares space with other furniture, freeing up the desktop can make the entire area feel less crowded.
Students
A monitor arm can leave space for textbooks, notebooks, and a laptop.
Content Creators
A floating monitor can make it easier to position a camera, microphone, drawing tablet, or other equipment around the workstation.
Programmers and Developers
A dual-monitor arm can make a two-screen setup easier to arrange without filling the entire desk with monitor bases.
Common Monitor Arm Mistakes to Avoid
Buying Without Checking VESA Compatibility
This is probably the easiest mistake to prevent.
Check the monitor specifications before ordering.
Ignoring Weight Capacity
Don’t assume a monitor arm will support every display of a particular size.
Check the actual weight range.
Choosing an Arm That’s Too Short
If you need to pull the monitor forward significantly, arm reach becomes important.
A cheap arm that can’t reach your preferred position can be more frustrating than the original stand.
Installing It on a Weak Desk
A monitor arm transfers force to the mounting area.
If your desktop is extremely thin or fragile, don’t assume a heavy monitor arm will be a good match.
Forgetting About the Back of the Desk
Measure the clearance before purchasing.
A wall, shelf, cable tray, or desk frame can prevent a clamp from fitting properly.
Overloading a Dual Arm
Two large monitors can put considerably more stress on the mounting system.
Check the capacity for each arm rather than just looking at the maximum total weight.
Making Cable Management Too Tight
Leave enough slack for monitor movement.
Otherwise, adjusting the arm can pull on your cables or connectors.
A Simple Setup for Maximum Desk Space
If I were setting up a small desk from scratch, I’d keep it fairly simple.
I’d use a single monitor arm, position the monitor toward the back of the desk, and keep the keyboard directly in front.
If I used a laptop as a second screen, I’d place it beside the monitor or use a compact laptop stand.
I’d also keep the area underneath the monitor mostly clear.
That last part is important.
There’s a temptation to fill every newly available inch with accessories.
But the reason the monitor arm feels useful is because it creates breathing room.
You don’t have to use every bit of space you gain.
Is a Monitor Arm Worth It?
For a small or crowded desk, I think it can be one of the more practical upgrades you can make.
You’re not replacing the desk.
You’re not adding another huge piece of furniture.
You’re simply changing where the monitor is supported.
The biggest lesson I learned is that desk organization isn’t always about buying more storage. Sometimes it’s about removing the things that don’t need to sit on the desktop in the first place.
A monitor stand is necessary for supporting a monitor, but its large base doesn’t necessarily need to occupy valuable workspace.
Once the monitor is mounted properly, the desktop becomes much easier to arrange around your actual workflow.
And if you’ve ever tried to fit a keyboard, laptop, notebook, coffee mug, and monitor onto a tiny desk at the same time, you’ll understand why getting that extra space back feels surprisingly good.
Before buying one, just remember the boring-but-important checks: VESA compatibility, monitor weight, desk thickness, clamp clearance, arm reach, and cable routing.
Get those right, and a monitor arm can turn a cramped workstation into a much more usable one without requiring a bigger desk.