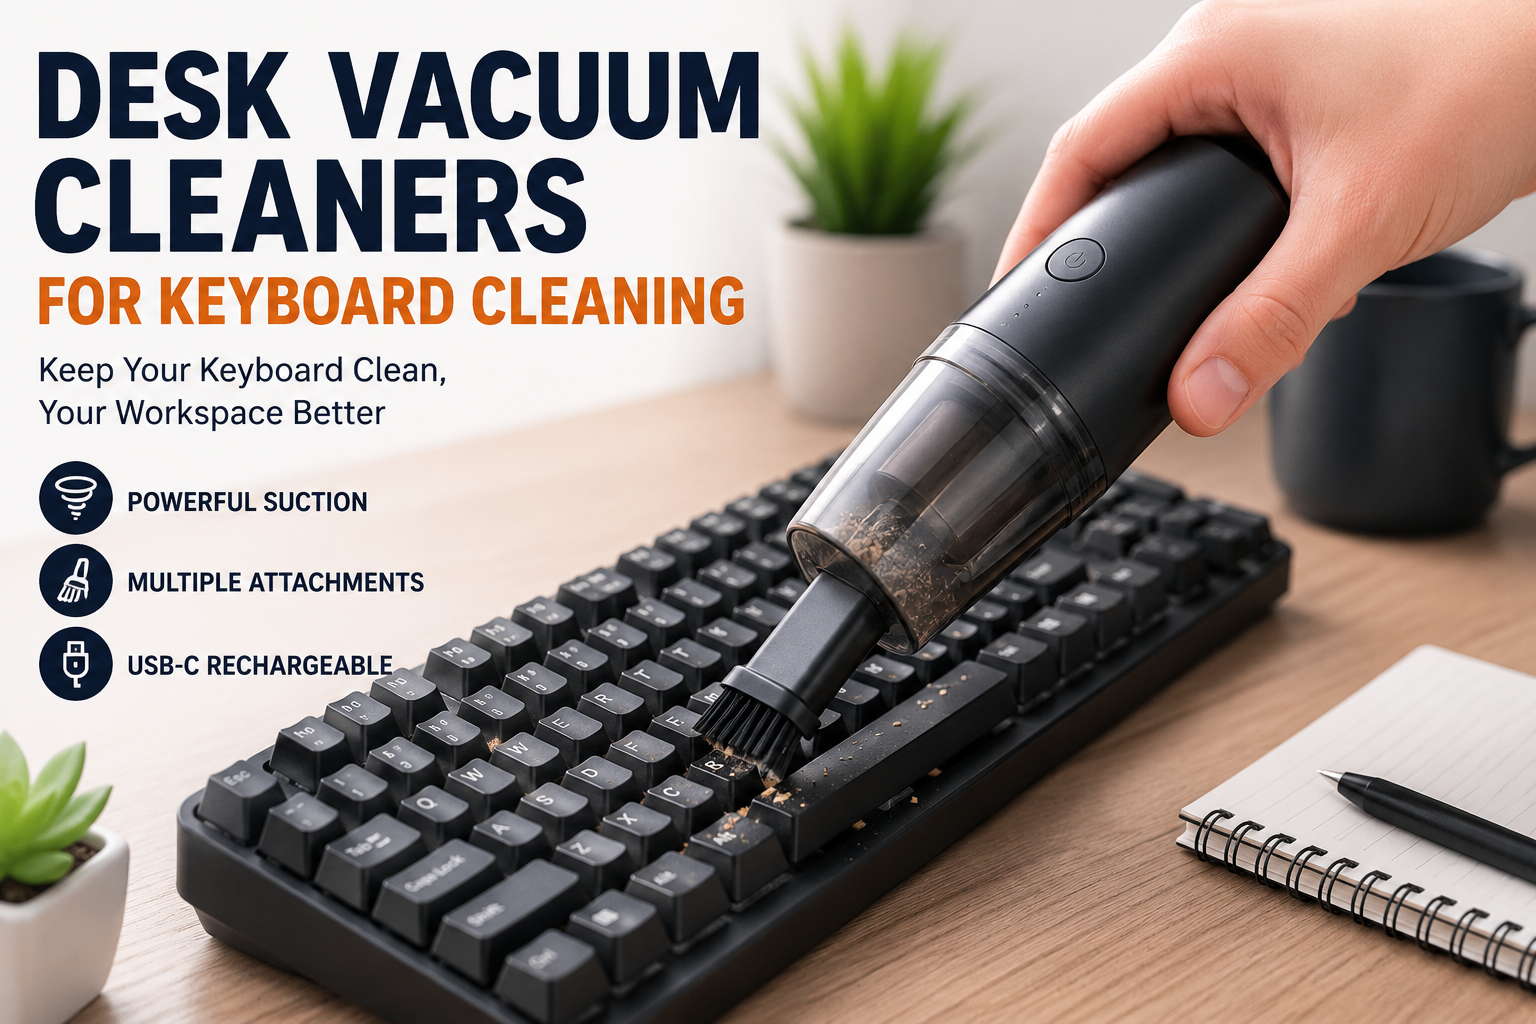
I noticed the problem one morning when I was trying to type an email and one of my keyboard keys felt slightly sticky.
At first, I ignored it. Then I looked closer.
There were crumbs between the keys, a thin layer of dust around the edges, and enough small debris under the spacebar to make me wonder how long it had been building up. I had been wiping the surface of the keyboard regularly, but that clearly wasn’t enough.
That was when I started looking at small desk vacuum cleaners made specifically for keyboards and workspaces.
These compact vacuums are designed to pick up dust, crumbs, hair, and other small debris from areas that are difficult to clean with a regular vacuum cleaner. They can be useful for mechanical keyboards, laptop keyboards, desk mats, drawers, and other small spaces around a workstation.
But not every mini vacuum is equally useful. Some are surprisingly practical, while others look impressive in product photos but struggle with basic cleaning.
After using small cleaning tools around a desk setup, I learned that the most important thing is not simply buying the smallest or cheapest vacuum. It is choosing one with enough suction, a practical nozzle, easy maintenance, and a size that makes you actually want to use it.
Why Keyboard Cleaning Is More Difficult Than It Looks
A keyboard looks easy to clean because most of the dirt is visible. You can wipe the top of the keys and make the surface look fresh within a minute.
The problem is everything underneath.
Dust and debris can collect:
- Between individual keycaps
- Around the edges of the keyboard
- Under the spacebar
- Inside laptop keyboard gaps
- Along the sides of mechanical switches
- Around the wrist rest
- Between the keyboard and desk mat
If you regularly eat at your desk, the problem becomes even more noticeable. Small crumbs can fall between the keys without you realizing it. Pet hair and fabric fibers can also find their way into almost every gap.
I used to think compressed air was the easiest solution. It works well for blowing dust out, but it can also send the debris across your desk, onto your monitor stand, or straight into another part of the keyboard.
A small desk vacuum offers a different approach: instead of blowing debris around, it attempts to collect it.
What Is a Desk Vacuum Cleaner?
A desk vacuum cleaner is a small, portable vacuum designed for light cleaning jobs.
Unlike a full-size household vacuum, it is usually compact enough to keep beside your keyboard or store in a desk drawer. Many models are rechargeable and come with small attachments for narrow spaces.
Common features include:
- Compact cordless design
- USB-C or USB charging
- Small brush attachments
- Narrow crevice nozzles
- Rechargeable batteries
- Washable filters
- Multiple suction modes
- Separate blowing functions on some models
The best use case is not heavy cleaning. These devices are made for small, everyday messes.
Think of them as a quick-cleaning tool rather than a replacement for a regular vacuum.
My Biggest Lesson: Small Size Does Not Always Mean Better
One mistake I made when looking at mini vacuums was assuming that the smallest model would be the most convenient.
That sounds logical, but there is a trade-off.
A very small vacuum may fit perfectly in a desk drawer, but it may also have:
- A weaker motor
- A tiny dust container
- Short battery life
- A filter that becomes clogged quickly
On the other hand, a slightly larger desktop vacuum may be easier to hold and have better suction.
For keyboard cleaning, I would rather have a compact device that is comfortable to use than one that is extremely tiny but struggles to pick up anything heavier than loose dust.
What to Look for in a Keyboard Cleaning Vacuum
1. Useful Suction Power
Suction power is one of the most important factors.
A vacuum designed for keyboards should be able to pick up loose dust, crumbs, hair, and small particles without requiring you to repeatedly pass over the same spot.
However, stronger suction is not automatically better in every situation.
If you are cleaning a mechanical keyboard, you should avoid using excessive force directly over delicate components. A vacuum with adjustable suction modes can be useful because you can use a lower setting for sensitive areas and a stronger setting for desk surfaces.
The goal is controlled cleaning, not maximum power at all times.
2. A Narrow Crevice Tool
A small nozzle can make a major difference.
The space between keyboard keys is narrow, so a wide vacuum opening may not be able to reach the debris properly. A narrow crevice attachment allows you to clean around keycaps and tight edges more precisely.
This is especially useful around:
- The sides of the spacebar
- Between larger keycaps
- Keyboard frame edges
- Laptop keyboard corners
- Desk drawer tracks
A brush attachment is also helpful for loosening dust before vacuuming it.
3. Easy Filter Cleaning
This is something many people forget to check.
A mini vacuum can lose noticeable suction when its filter becomes clogged. Because the dust container is small, the filter may need more frequent cleaning than the filter in a household vacuum.
Look for a model with:
- A removable dust container
- An accessible filter
- A washable filter, if appropriate
- Simple parts that do not require special tools
If cleaning the vacuum is annoying, you may eventually stop using it.
That is exactly what happened to me with one small cleaning gadget. It worked reasonably well, but emptying and cleaning the filter was unnecessarily frustrating. Eventually, I started reaching for a microfiber cloth instead.
Convenience matters more than many people expect.
4. USB-C Charging
USB-C charging is another practical feature.
If your desk already has a laptop, monitor, docking station, or USB hub, charging a small vacuum is simple. You do not need to keep track of another special charging cable.
A rechargeable vacuum is also more convenient than constantly replacing batteries.
Still, battery life should be considered. If you only clean a keyboard for a few minutes at a time, even a modest battery can be sufficient. If you plan to clean your entire desk, chair, drawers, and computer area, longer battery life becomes more important.
5. Comfortable Grip and Weight
A vacuum can have excellent specifications and still be annoying to use.
Since keyboard cleaning requires careful movement, the device should be comfortable to hold. If it is awkward or too heavy, you may accidentally bump the keyboard or lose control around delicate areas.
A lightweight design is generally helpful, but extremely light models may sometimes sacrifice motor performance.
The best balance depends on how you plan to use it.
How to Clean a Keyboard Properly With a Desk Vacuum
Using a desk vacuum is simple, but the order matters.
Step 1: Turn Off and Disconnect the Keyboard
Before cleaning, turn off the computer or disconnect the keyboard.
For a wireless keyboard, switch it off if possible.
This reduces the chance of accidentally pressing keys or causing problems while cleaning around the keyboard.
Step 2: Remove Loose Items From the Desk
Move away anything that could be accidentally sucked up.
This includes:
- USB adapters
- Small memory cards
- Earbud tips
- Loose screws
- Cable clips
- Small accessories
A mini vacuum can sometimes pick up surprisingly small objects.
I once nearly vacuumed a tiny USB receiver because it was sitting close to a pile of dust. Since then, I always clear the area first.
Step 3: Tilt the Keyboard Slightly
Place the keyboard at a gentle angle.
This helps loose debris move toward the edges instead of remaining trapped between the keys.
You do not need to shake it aggressively. A light tilt is usually enough.
Step 4: Use a Brush to Loosen Dust
If your vacuum includes a brush attachment, use it carefully between the keys.
The brush helps loosen particles that are stuck around the edges. The vacuum can then collect the debris.
Avoid pressing hard against the keycaps.
Step 5: Vacuum Slowly
Move the nozzle slowly across the keyboard.
Pay special attention to:
- The spacebar
- Enter and Shift keys
- The gaps around the arrow keys
- The keyboard’s outer frame
- Areas where crumbs are visible
Moving too quickly can cause the vacuum to miss debris.
You do not need to spend ten minutes cleaning a keyboard. A careful pass of a few minutes can make a noticeable difference when done regularly.
Step 6: Wipe the Surface
After vacuuming, use a clean microfiber cloth to wipe the top of the keys and surrounding desk area.
The vacuum handles loose debris. The cloth handles surface dust, fingerprints, and light marks.
These two tools work better together than either one alone.
Desk Vacuums Are Useful Beyond Keyboards
One of the reasons I find these small vacuums useful is that the keyboard is only one part of the workspace.
A compact desk vacuum can also help clean:
Desk Mats
Dust and crumbs can collect along the edges of large desk mats.
A small vacuum can remove loose particles before you wipe the surface.
Laptop Areas
The keyboard area, palm rest, and space around the trackpad can collect dust and crumbs.
For laptops, use extra care and avoid forcing a powerful vacuum directly against delicate components.
Drawers
Small desk drawers often collect dust, paper fragments, and crumbs.
A compact vacuum can reach these spaces more easily than a full-size vacuum.
Cable Management Areas
The area behind a monitor or under a desk can become a dust trap.
A small cordless vacuum is useful for cleaning around cables without having to bring out a large household vacuum.
Office Chairs and Small Furniture
Some desk vacuums can handle loose crumbs on chair surfaces or small areas of furniture.
Their usefulness depends on the motor, but they can be convenient for quick cleanups.
Desk Vacuum vs. Compressed Air
Both tools have their place.
Compressed air is useful for pushing dust out of tight spaces. A vacuum is useful for collecting loose debris.
The main difference is where the dirt goes.
With compressed air, dust may move somewhere else. With a vacuum, the goal is to collect it in the dust container.
For a keyboard with visible crumbs, I generally prefer vacuuming first.
For dust that is difficult to reach, compressed air can sometimes help. However, you should always follow the instructions for the specific product and use electronics-cleaning methods carefully.
A combination of gentle brushing and controlled vacuuming is often enough for regular keyboard maintenance.
Common Mistakes to Avoid
Using Too Much Force
You do not need to press the nozzle hard against the keyboard.
A gentle approach is safer and usually works just as well.
Ignoring the Filter
A full dust container or clogged filter can reduce performance.
If your vacuum suddenly seems weaker, check the filter before assuming the motor has failed.
Vacuuming Small Accessories
Do not clean around loose USB receivers, memory cards, screws, or other tiny items without moving them first.
A small vacuum can easily pick up something you did not intend to lose.
Cleaning Only When the Keyboard Looks Dirty
By the time a keyboard looks visibly dirty, debris may already have accumulated underneath the keys.
A quick cleaning every week or two is easier than waiting until the keyboard requires a major cleanup.
Expecting a Mini Vacuum to Replace a Full Vacuum Cleaner
These devices are designed for small jobs.
They are excellent for keyboards and desks but may not be suitable for large amounts of dirt, heavy debris, or deep carpet cleaning.
Keeping expectations realistic makes the experience much better.
How Often Should You Clean Your Keyboard?
There is no single schedule that works for everyone.
For a normal home office, a quick surface clean once a week and a more thorough cleaning every few weeks may be enough.
You may want to clean more often if:
- You eat at your desk
- You have pets
- Your room collects a lot of dust
- You work in a dusty environment
- Multiple people use the keyboard
- You use a mechanical keyboard with exposed gaps
The important thing is consistency.
A few minutes of regular cleaning is much easier than trying to remove months of accumulated dust and crumbs.
Are Desk Vacuum Cleaners Worth Buying?
For someone who spends a lot of time at a computer, a small desk vacuum can be a useful accessory.
It is particularly helpful if you want a quick way to remove crumbs and loose debris without bringing out a full-size vacuum cleaner.
However, I would not buy one based solely on appearance or the claim that it has an extremely powerful motor.
For keyboard cleaning, practical features matter more:
- Reliable suction
- A narrow nozzle
- A useful brush attachment
- Easy filter maintenance
- Comfortable handling
- Convenient charging
A simple, well-designed device that you use regularly is more valuable than an expensive gadget that stays in a drawer.
The best cleaning routine is usually simple: turn off the keyboard, remove loose accessories, gently loosen the dust, vacuum the debris, and finish with a microfiber cloth.
That small routine can keep a keyboard looking cleaner and feeling better without turning desk maintenance into a major project.
And if you regularly eat snacks while working, a desk vacuum may quickly become one of those small accessories you wonder how you managed without.