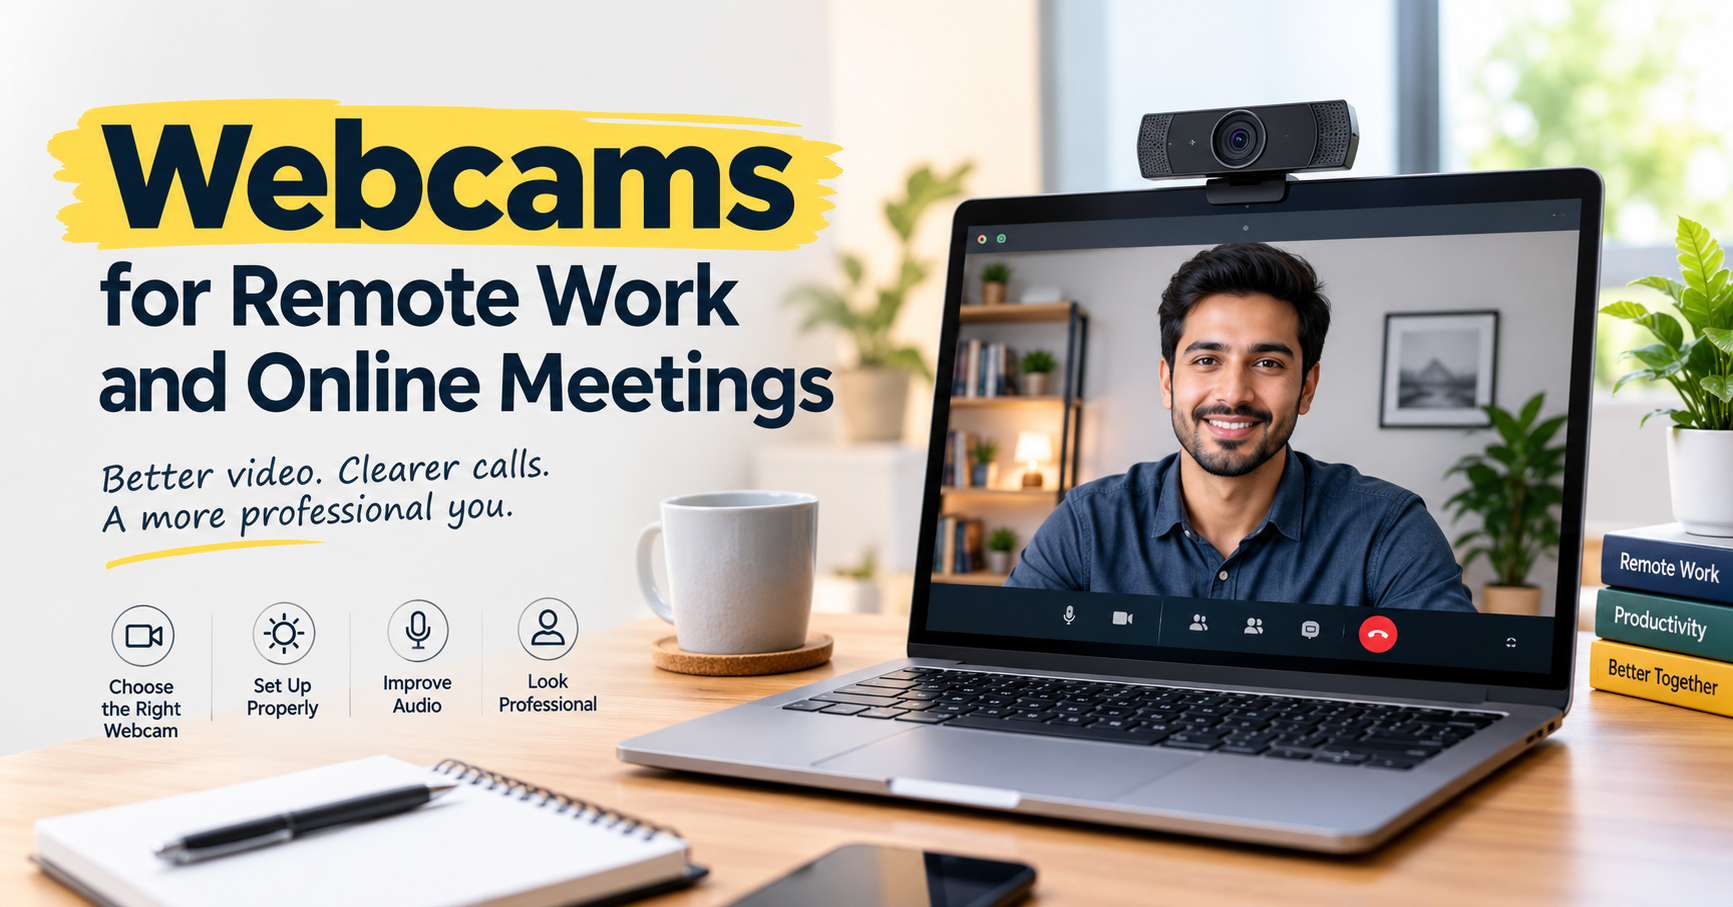
The first time I worked from home regularly, I thought my laptop’s built-in webcam would be enough.
It technically worked. People could see me on Zoom, and I could see them. Problem solved, right?
Not quite.
The camera made my face look strangely dark, the image became grainy whenever the room wasn’t bright, and the angle was so low that it felt like everyone was looking up at me. During one meeting, I finally noticed that my background looked more distracting than I did.
That was when I realized something: a webcam doesn’t have to be expensive to make a noticeable difference, but choosing the right one matters.
If you’re working remotely, attending online classes, interviewing for jobs, talking with clients, or spending hours in meetings, a decent webcam can make video calls feel much more natural.
Why Your Webcam Matters More Than You Might Think
When you’re in an office, people naturally see your face, body language, and surroundings. Online meetings remove most of that.
Your webcam becomes the main visual connection between you and everyone else.
A poor camera can make you look blurry or washed out. A bad angle can make an otherwise professional workspace look awkward. And poor exposure can make it difficult for others to see your face clearly.
I learned pretty quickly that image quality isn’t only about resolution.
Lighting, camera position, background, and even the software you’re using can have just as much impact.
A good 1080p webcam in a reasonably lit room can look better than a much more expensive camera sitting in a dark corner.
What Should You Look for in a Webcam?
You don’t necessarily need the most expensive webcam on the market. For most remote workers, a few specific features are much more useful than a long list of technical specifications.
1. 1080p Resolution
For everyday meetings, 1080p is a comfortable starting point.
It gives you a reasonably sharp image without requiring the kind of bandwidth that higher resolutions can demand.
If you’re mainly using Zoom, Microsoft Teams, Google Meet, Skype, or similar platforms, 1080p is more than enough for many people.
Just remember that your meeting platform may compress the video, so buying a 4K webcam doesn’t automatically mean everyone in the meeting will see you in 4K.
2. Automatic Exposure
This is one of those features I didn’t appreciate until I had a webcam without it.
If sunlight is coming through a window, your room lighting can change considerably throughout the day. A camera with automatic exposure can adjust to those changes.
Without it, you may suddenly look extremely bright or almost disappear into a dark background.
3. Autofocus
Autofocus is useful if you occasionally move closer to the camera or hold something up during a presentation.
For a normal talking-head meeting where you’re sitting in one place, it’s less important.
Still, having reliable autofocus is convenient.
4. A Useful Field of View
The field of view determines how much of the room the camera captures.
A very wide camera can show your entire desk and a large portion of your room. That sounds useful until you realize it also captures everything you forgot to clean.
For most remote workers, a moderate field of view is easier to manage.
If you’re sitting alone at a desk, you usually don’t need an extremely wide-angle webcam.
5. A Good Mount
This sounds boring, but it’s surprisingly important.
The webcam should sit securely on your monitor or laptop without constantly moving.
Many webcams also include a standard tripod mount, which gives you another option if you want to position the camera somewhere other than directly on top of your screen.
The Biggest Lesson I Learned: Lighting Matters
Before buying an expensive webcam, look at your lighting.
Seriously.
I once spent time adjusting camera settings when the real problem was simply that the light behind me was much brighter than the light on my face.
The camera was trying to compensate, and my face looked darker than it should.
A simple desk lamp positioned in front of me made a bigger difference than I expected.
You don’t need a professional studio.
Try placing your main light slightly in front of you and off to one side. Avoid putting a bright window directly behind your head.
Natural window light can work extremely well when it’s in front of you.
How to Set Up a Webcam Properly
Buying the camera is only half the job.
Here’s the setup process I recommend.
Step 1: Place the Camera at Eye Level
Your camera should generally be close to eye level.
If it’s sitting too low, the camera points upward at you. If it’s too high, you’ll spend the meeting looking up.
A monitor-mounted webcam is often a simple solution.
If you’re using a laptop, raising the laptop with a laptop stand can help bring the built-in camera closer to eye level.
Step 2: Position Yourself Correctly
Don’t sit with your face pressed against the camera.
Give yourself some space.
Your head and upper shoulders should usually be visible, with a little room above your head.
You don’t want half your face filling the entire frame.
Step 3: Check Your Background
Your background doesn’t need to look like a corporate office.
A clean wall, bookshelf, plant, or simple home-office setup can work perfectly well.
The main goal is to remove distractions.
Before an important interview or client meeting, I always recommend checking the camera preview first. You might notice something in the frame that you don’t see while sitting normally.
Step 4: Test Your Microphone
Here’s another mistake people make.
They spend money on a webcam and completely forget about audio.
A slightly imperfect picture is usually tolerable.
Bad audio is much more frustrating.
After connecting your webcam, check which microphone your meeting software is using. Your laptop microphone, headset, webcam microphone, or dedicated USB microphone may all appear as separate options.
Step 5: Test Your Video in the Actual App
Don’t assume everything is working because your computer recognizes the webcam.
Open the application you’ll actually use.
For example, check the camera settings in Zoom, Google Meet, or Microsoft Teams before your first important meeting.
This can reveal problems such as the wrong camera being selected, strange cropping, poor exposure, or microphone issues.
Webcam Examples for Different Types of Users
There isn’t one webcam that makes sense for everybody.
Your needs depend heavily on how you work.
For Basic Remote Work
If you’re joining a few meetings every week, a straightforward 1080p USB webcam may be all you need.
Look for:
- 1080p video
- Automatic exposure
- A reliable mount
- A decent built-in microphone
- Plug-and-play USB connectivity
There’s little reason to spend heavily if you’re only using the camera occasionally.
For Frequent Video Meetings
If you’re on video calls several hours a day, it’s worth paying more attention to image quality.
You may want:
- Better low-light performance
- More reliable autofocus
- Improved image processing
- A wider range of mounting options
- A privacy shutter
A privacy shutter is particularly convenient if the webcam stays connected to your computer all day.
For Online Teachers
Teachers and tutors may benefit from a webcam that handles movement well.
If you’re writing on a whiteboard, holding up books, demonstrating products, or moving around during lessons, autofocus becomes more useful.
Audio is also extremely important because students need to hear explanations clearly.
For Job Interviews
You don’t need a cinema camera for a job interview.
What you do need is a clear, stable image and good lighting.
I’d rather use an inexpensive 1080p webcam positioned correctly with good lighting than an expensive camera sitting in a dark room.
Before the interview, do a complete test call.
Check your camera.
Check your microphone.
Check your internet connection.
Check your background.
Then close unnecessary applications so your computer isn’t struggling during the call.
Popular Webcam Options Worth Considering
Several brands have become common choices for remote workers.
Logitech has a large range of webcams, from basic models to higher-end options designed for professional video conferencing.
The Logitech C920 series, for example, has been popular for years among people who want a straightforward external webcam without moving into expensive camera equipment.
Razer also makes webcams aimed at users who want higher-quality video, particularly people who stream or create online content.
Anker offers webcams such as the PowerConf series, which are designed with video conferencing in mind.
There are also webcams from companies such as Dell, HP, Microsoft, and other established hardware manufacturers.
The important thing isn’t simply choosing the most recognizable brand. Check the features against how you actually plan to use the camera.
Do You Need a 4K Webcam?
This is one of the easiest places to overspend.
For normal Zoom calls, interviews, work meetings, and online classes, 4K isn’t necessary for most people.
A 4K webcam can make sense if you’re also creating YouTube videos, recording tutorials, streaming, or want the flexibility to crop the image while retaining detail.
But if your only goal is looking clear during a weekly team meeting, 1080p is generally a more sensible target.
I’d put the money toward lighting or better audio first if those areas are currently weak.
Built-In Microphone vs Separate Microphone
Many webcams include microphones.
They’re convenient because you don’t need another device on your desk.
For casual meetings, a webcam microphone can be perfectly usable.
But if you regularly present to clients, teach online, record videos, or participate in long meetings, a dedicated microphone or good headset can provide a noticeable improvement.
One thing I’ve learned from video calls is that people forgive average video much faster than difficult-to-understand speech.
Don’t Ignore Your Internet Connection
A great webcam can’t fix an unstable internet connection.
If your video keeps freezing or dropping in quality, the problem may have nothing to do with the camera.
Before replacing your webcam, check whether other devices are using a lot of bandwidth.
Cloud backups, large downloads, game updates, and multiple video streams can all affect your connection.
If possible, a wired Ethernet connection can provide a more stable connection than Wi-Fi, although good Wi-Fi can work perfectly well for many home offices.
Common Webcam Mistakes to Avoid
Buying Based Only on Resolution
The number on the box isn’t everything.
A 4K camera with poor lighting can still produce an unpleasant image.
Look at the complete setup rather than focusing on one specification.
Putting the Camera Too Far Away
If the webcam is mounted across the room, your face may become a tiny part of the frame.
For normal meetings, keep the camera reasonably close.
Sitting With a Bright Window Behind You
This can confuse the camera’s exposure system and leave your face looking dark.
Move the camera or yourself so the main light is coming from in front of you.
Forgetting About Audio
Don’t wait until your first meeting to discover that everyone can barely hear you.
Test the microphone before the call.
Leaving the Webcam Unsecured
If your webcam is sitting loosely on a monitor, even a small movement can change the framing.
Position it once and make sure it stays stable.
Using a Busy Background
You don’t need an empty white wall, but excessive clutter can pull attention away from the conversation.
Keep the important part of the frame simple.
A Simple Webcam Setup for Remote Workers
If I were building a basic home-office video setup from scratch, I’d keep it simple.
I’d start with a 1080p external webcam.
Then I’d position it at approximately eye level.
Next, I’d place a light in front of me rather than behind me.
I’d use headphones or a decent headset if the built-in microphone wasn’t good enough.
Finally, I’d test everything inside the actual meeting application.
That’s enough for many remote workers.
You don’t need a complicated studio with multiple lights, expensive cameras, and a wall full of equipment.
What I Would Check Before Buying
Before clicking the purchase button, I’d ask myself these questions:
How often will I use it?
If you attend two meetings a month, you probably don’t need a premium model.
Will I use it for content creation?
If you’re planning YouTube videos or streaming, spending more may make sense.
Does my monitor already have a good camera?
If your existing camera performs well, an upgrade may not be necessary.
How is my lighting?
Fixing lighting can sometimes improve your video more than replacing the camera.
Do I need a privacy shutter?
If the webcam will remain connected all day, this can be a useful feature.
Do I need autofocus?
For normal meetings, perhaps not. For demonstrations and content creation, it can be much more valuable.
A Few Minutes of Preparation Can Make a Big Difference
One of the biggest lessons I’ve taken from remote meetings is that the equipment is only part of the experience.
A modest webcam can look surprisingly good when it’s positioned correctly and used with decent lighting.
On the other hand, an expensive webcam can still look disappointing if it’s pointed at a bright window, sitting at the wrong height, and paired with poor audio.
So before spending a lot of money, fix the basics.
Raise the camera.
Clean the lens.
Face your main light.
Simplify the background.
Test your microphone.
Then look at the result.
If the image still isn’t good enough for the way you work, that’s when upgrading the webcam makes sense.
For most people working from home, a reliable 1080p webcam, sensible lighting, and clear audio are enough to create a comfortable and professional video-call setup without turning the desk into a recording studio.