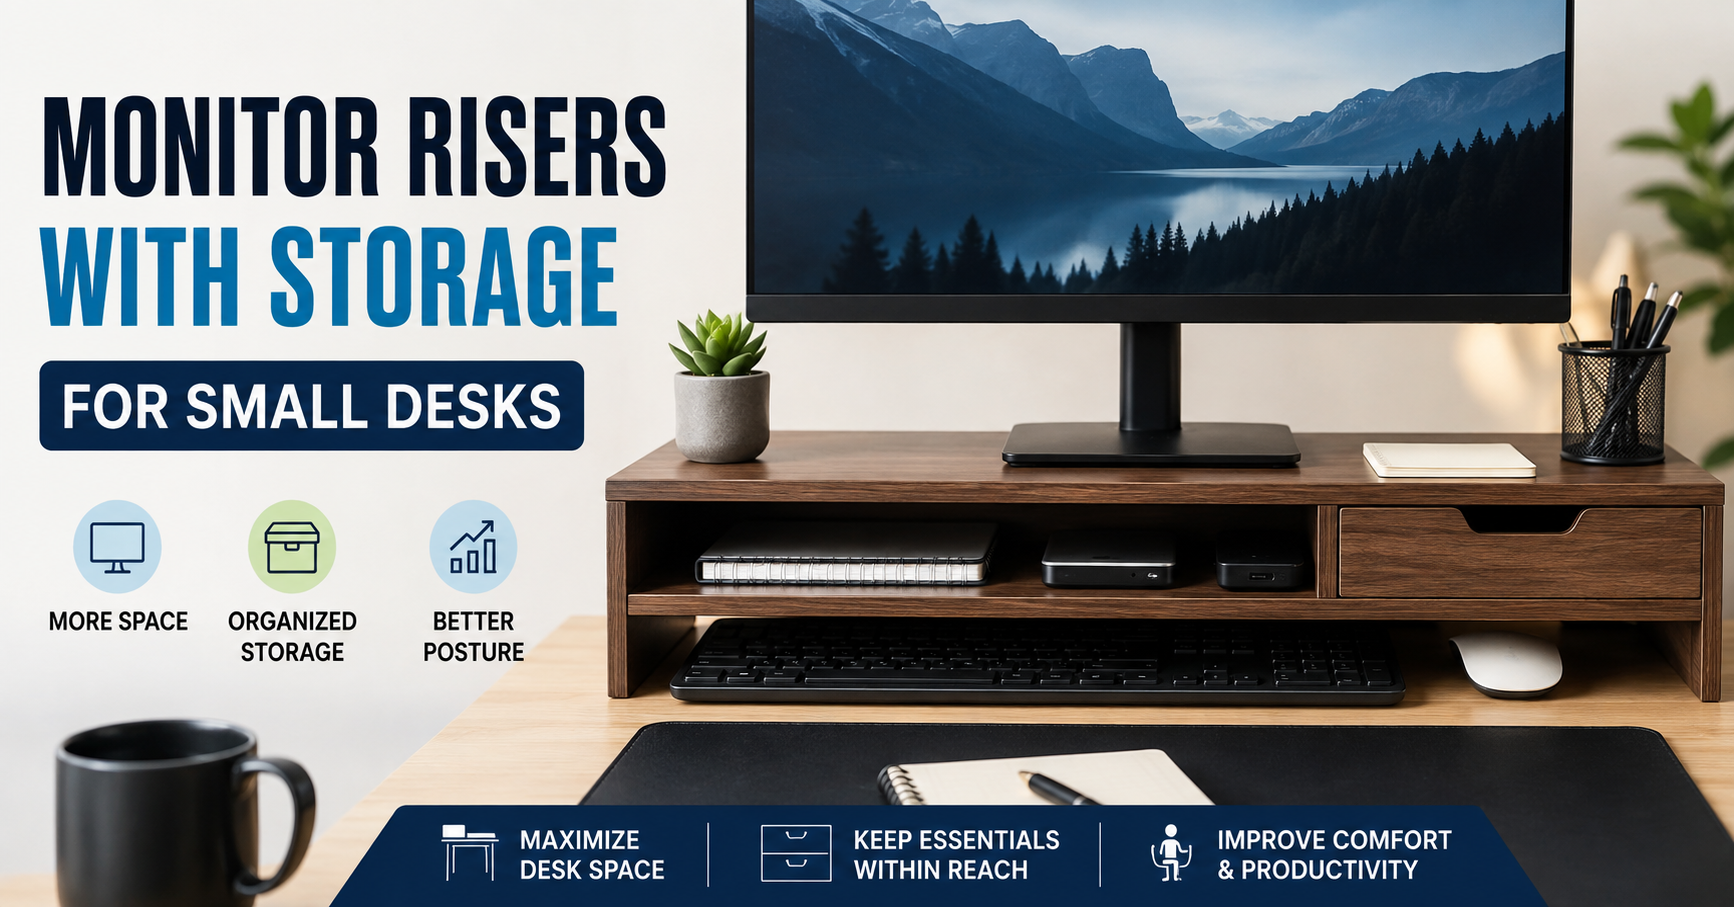
I realized I had a desk-space problem the annoying way: I kept moving my keyboard, notebook, headphones, and coffee mug around just to make room for my monitor.
My desk wasn’t particularly tiny, but once the monitor went on it, the usable surface felt much smaller. The monitor stand took up a surprising amount of space, and the area underneath the screen was basically wasted.
That was when I started looking at monitor risers with storage.
At first, I thought a monitor riser was just a simple platform for lifting the screen. But the storage underneath turned out to be the more useful part. Instead of adding another organizer to an already crowded desk, I could use the empty space beneath the monitor for things I normally kept scattered around.
If you’re working with a small desk, dorm desk, bedroom workstation, or compact home office, a monitor riser with storage can be a surprisingly practical upgrade.
Why a Monitor Riser Makes Sense on a Small Desk
The biggest advantage is simple: it uses vertical space.
A traditional monitor stand occupies part of the desktop without giving you much usable storage underneath. A riser creates a raised platform and leaves a section below it where you can store everyday items.
That small change can make a desk feel considerably less cluttered.
For example, the space underneath a riser can hold:
- A keyboard when you’re not using it
- A mouse and mousepad
- Notebooks
- Pens and stationery
- A phone
- External drives
- Small USB accessories
- Headphones
- A calculator
- Charging cables
You don’t necessarily gain more desk area, but you make better use of the area you already have.
That’s an important distinction.
What I Look for in a Monitor Riser With Storage
After using different types of desk organizers, I’ve learned that appearance isn’t nearly as important as how easily you can use the thing every day.
A riser can look great in product photos and still be annoying in actual use.
Here are the features I’d pay attention to.
1. Check the Weight Capacity
Your monitor should be comfortably within the riser’s rated weight limit.
This becomes especially important with larger monitors, ultrawide displays, or setups using monitor-mounted accessories.
Don’t assume that because a riser looks sturdy, it can support whatever you put on it.
Check the manufacturer’s specifications before buying.
2. Measure Your Monitor Base
This is an easy mistake to make.
I once focused more on the width of a stand than the actual shape of the monitor base. A riser can have plenty of overall width but still not provide enough usable surface for a particular stand.
Measure:
- Monitor stand width
- Monitor stand depth
- Riser width
- Riser depth
- Available desk width
If you’re using two monitors, measure both bases and consider whether they can actually sit comfortably on the riser.
3. Look at the Storage Opening
The storage area underneath isn’t equally useful on every design.
Some risers have a completely open shelf. Others have drawers, compartments, or a combination of both.
An open shelf is convenient for a keyboard and larger objects.
Drawers are better for small items such as USB drives, memory cards, adapters, pens, and charging cables.
Think about what you actually want to store before choosing the design.
4. Don’t Ignore Desk Depth
This is particularly important for small desks.
A riser that’s very deep can consume valuable space toward the front of your desk. That may leave less room for your keyboard, mouse, notebook, or writing area.
Before buying, measure the depth of your desk and mark the riser’s approximate footprint with books or cardboard.
It’s a surprisingly good way to see whether the size will work.
A Simple Setup That Works Well
For a compact home office, I’d keep the arrangement fairly simple.
Place the monitor riser toward the back of the desk and position the monitor centrally on top.
Then use the space underneath for the keyboard when you’re not typing.
If the riser has an open shelf, you can also put a small notebook or tablet there.
Your mouse should remain on the main desktop because you’ll be using it frequently.
For headphones, I prefer a dedicated hook or stand rather than throwing them into the storage compartment. It keeps them accessible and prevents cables from becoming tangled with everything else.
The goal isn’t to fill every available space.
It’s to give commonly used objects a logical home.
Monitor Riser Storage Ideas for Small Desks
The storage underneath can be surprisingly versatile.
Keyboard Storage
This is probably the most useful option.
When you’re using a laptop or switching between devices, slide your keyboard underneath the monitor riser. Suddenly, a large section of the desktop becomes available.
This is particularly useful if you occasionally use the desk for writing or studying.
Cable and Charger Storage
Small charging cables have a strange ability to spread across an entire desk.
If the riser has a drawer, it’s a convenient place for spare USB-C cables, charging adapters, and small electronics.
I’d avoid throwing everything into one pile, though.
Use small pouches or cable ties to keep different cables separated.
Notebook and Stationery Storage
A shelf beneath the monitor works nicely for notebooks that you use regularly.
Instead of leaving three notebooks beside your keyboard, keep the less frequently used ones underneath the monitor.
You can then keep only the notebook you’re currently using on the desktop.
External Drive Storage
If you use an external SSD or hard drive, the storage compartment can keep it off the main work surface.
However, don’t completely hide devices that need ventilation or have specific operating requirements. Also make sure cables aren’t bent sharply behind the riser.
Monitor Height Matters Too
Storage is useful, but don’t forget why monitor risers exist in the first place.
Your screen should be positioned at a comfortable viewing height.
If the monitor is too low, you may find yourself constantly looking downward. If it’s excessively high, the opposite can happen.
A riser should therefore be selected based on both storage and monitor height.
Before purchasing, measure the distance from your desk surface to where you want the top portion of the display to sit.
This is especially important with laptops.
A laptop placed on a high riser can improve screen height, but you may still need an external keyboard and mouse so your hands aren’t forced into an awkward position.
Monitor Risers for Single vs. Dual Monitor Setups
A single-monitor setup is relatively straightforward.
You can choose a compact riser that leaves additional space beside and underneath the screen.
Dual-monitor setups require more planning.
If both monitors are sitting on their original stands, the combined bases can consume a huge amount of surface area. In that situation, a long riser may work, but you need to check its load capacity and dimensions carefully.
Another option is using monitor arms.
A monitor arm can free up even more desk space because the monitor bases are removed from the desktop entirely.
However, that’s a different type of setup and may require a desk with a suitable edge for clamping.
For extremely small desks, I’d consider the complete setup rather than automatically buying the biggest riser available.
My Biggest Mistake: Buying for Appearance
One of the easiest traps with desk accessories is buying something because it looks fantastic in a staged photo.
A clean wooden riser with perfectly arranged accessories can make almost any desk look appealing.
But ask yourself what you’re actually going to store.
If you need to hide a keyboard, a tiny drawer won’t help.
If you need to organize cables and USB accessories, a completely open shelf may not be ideal.
If you have a heavy monitor, a decorative lightweight riser may not be appropriate.
Function should come before aesthetics.
You can always make a functional setup look better afterward.
How to Choose the Right Monitor Riser Step by Step
If you’re shopping for one, here’s the process I’d use.
Step 1: Measure Your Desk
Write down the available width and depth.
Don’t estimate.
A tape measure takes less than a minute and can prevent a frustrating purchase.
Step 2: Measure Your Monitor
Check the monitor’s weight and the dimensions of its stand.
If you’re using a laptop, measure the laptop footprint too.
Step 3: Decide What You Want to Store
Make a quick list.
For example:
- Keyboard
- Notebook
- Headphones
- Charging cables
- USB drives
This immediately tells you whether you need an open shelf, drawer, or multiple compartments.
Step 4: Decide How Much Height You Need
Don’t choose a riser solely because it has lots of storage.
If it raises your monitor too much, the storage advantage won’t compensate for an uncomfortable setup.
Step 5: Check Construction Quality
Look for a stable platform that doesn’t wobble when you type.
Pay attention to the materials, support structure, feet, and weight rating.
Step 6: Think About Cable Routing
A riser shouldn’t turn the back of your desk into a cable trap.
Look for designs that leave enough space for monitor and power cables to pass through naturally.
Common Mistakes to Avoid
Buying a Riser That’s Too Small
A monitor might technically fit on it, but if the base extends close to the edges, the setup can feel unstable and cramped.
Forgetting the Monitor Weight
Always check the rated capacity rather than guessing based on appearance.
Choosing Too Much Storage
More compartments aren’t automatically better.
If you have to open three different sections to find a charging cable, the organizer isn’t really helping.
Blocking Your Speakers
If you use small desktop speakers, make sure the riser doesn’t interfere with their placement.
Sound can also change if a large object is positioned directly between your speakers and listening position.
Ignoring Cable Length
Raising a monitor changes the position of its ports and cables.
Make sure your HDMI, DisplayPort, USB, and power cables have enough length to reach comfortably.
Filling Every Empty Space
This is something I had to learn.
Once you have storage, it’s tempting to fill it.
Instead, use the space to remove clutter from the desktop. The point is a cleaner workspace, not simply relocating a pile of stuff underneath your monitor.
Who Should Consider a Monitor Riser With Storage?
This type of accessory makes the most sense for people who have limited desktop space but don’t want to completely redesign their workstation.
It’s particularly useful for:
Students: A riser can create room for textbooks, notebooks, and a keyboard while keeping the monitor elevated.
Laptop users: It can help turn a laptop into part of a more organized workstation when paired with an external keyboard and mouse.
Remote workers: Small home-office desks often need to accommodate a monitor, keyboard, notebook, phone, and other daily equipment.
Gamers: The storage shelf can keep controllers, headphones, and smaller gaming accessories off the main surface.
Shared workspaces: If the same desk is used for work, study, and other activities, being able to move the keyboard and accessories underneath can make switching between tasks easier.
What About DIY Monitor Risers?
If you’re on a tight budget, you can temporarily create a similar setup using sturdy shelves, wooden boards, or other properly supported materials.
But there’s an important warning: don’t improvise with unstable objects underneath an expensive monitor.
The platform needs to be flat, stable, and capable of supporting the equipment safely.
A cheap purpose-built riser can be a better choice than stacking random books or boxes.
I’ve used books temporarily to test monitor height, and they’re actually useful for that. But I wouldn’t treat a random stack as a permanent monitor stand.
Making a Small Desk Feel Bigger
The interesting thing about monitor risers is that they don’t magically create space.
They make you notice space you weren’t using.
The area underneath your monitor was already there. A riser simply turns it into usable storage while also lifting the display.
That’s why this solution works particularly well on compact desks.
You can keep your keyboard tucked away when you need more writing space, store frequently used accessories within reach, and reduce the number of objects competing for room around your monitor.
And sometimes that small change is enough to make a cramped desk feel much more comfortable.
If you’re choosing one, don’t start with the question, “Which monitor riser looks the nicest?”
Start with, “What keeps taking up space on my desk?”
Once you answer that, choosing the right style becomes much easier.