I noticed the problem before I knew what was causing it.
After a few hours of working on my laptop, I would catch myself leaning forward toward the screen. My shoulders felt tight, my neck was uncomfortable, and by the end of the day I was practically looking down at the keyboard.
The strange part was that my desk and chair seemed perfectly fine.
The laptop was the problem.
A laptop is convenient because the screen and keyboard are attached. But that convenience creates an awkward compromise: if the keyboard is at a comfortable height for your hands, the screen is usually too low for your eyes. Raise the screen to a comfortable viewing height, and the built-in keyboard becomes too high for comfortable typing.
That is where a laptop stand can make a surprisingly noticeable difference.
Why Laptop Height Matters More Than You Think
When you use a laptop directly on a desk, the screen usually sits much lower than an external monitor. It’s easy to spend hours looking downward without realizing it.
Over time, I found myself making small adjustments that weren’t actually helping. I’d move the chair closer, lean forward, or tilt the screen farther back. None of those solved the basic problem.
A laptop stand changes the position of the screen without requiring you to replace the laptop itself.
The goal isn’t simply to make the laptop higher. The goal is to create a setup where you can look at the screen comfortably while keeping your head and upper body in a more neutral position.
For longer work sessions, that can make the entire desk feel more comfortable.
The Biggest Advantage: Separating the Screen and Keyboard
This was the lesson that made the biggest difference for me.
If you raise your laptop several inches and continue using its built-in keyboard, your hands may end up sitting too high. That’s why a stand works particularly well with an external keyboard and mouse.
The basic arrangement looks like this:
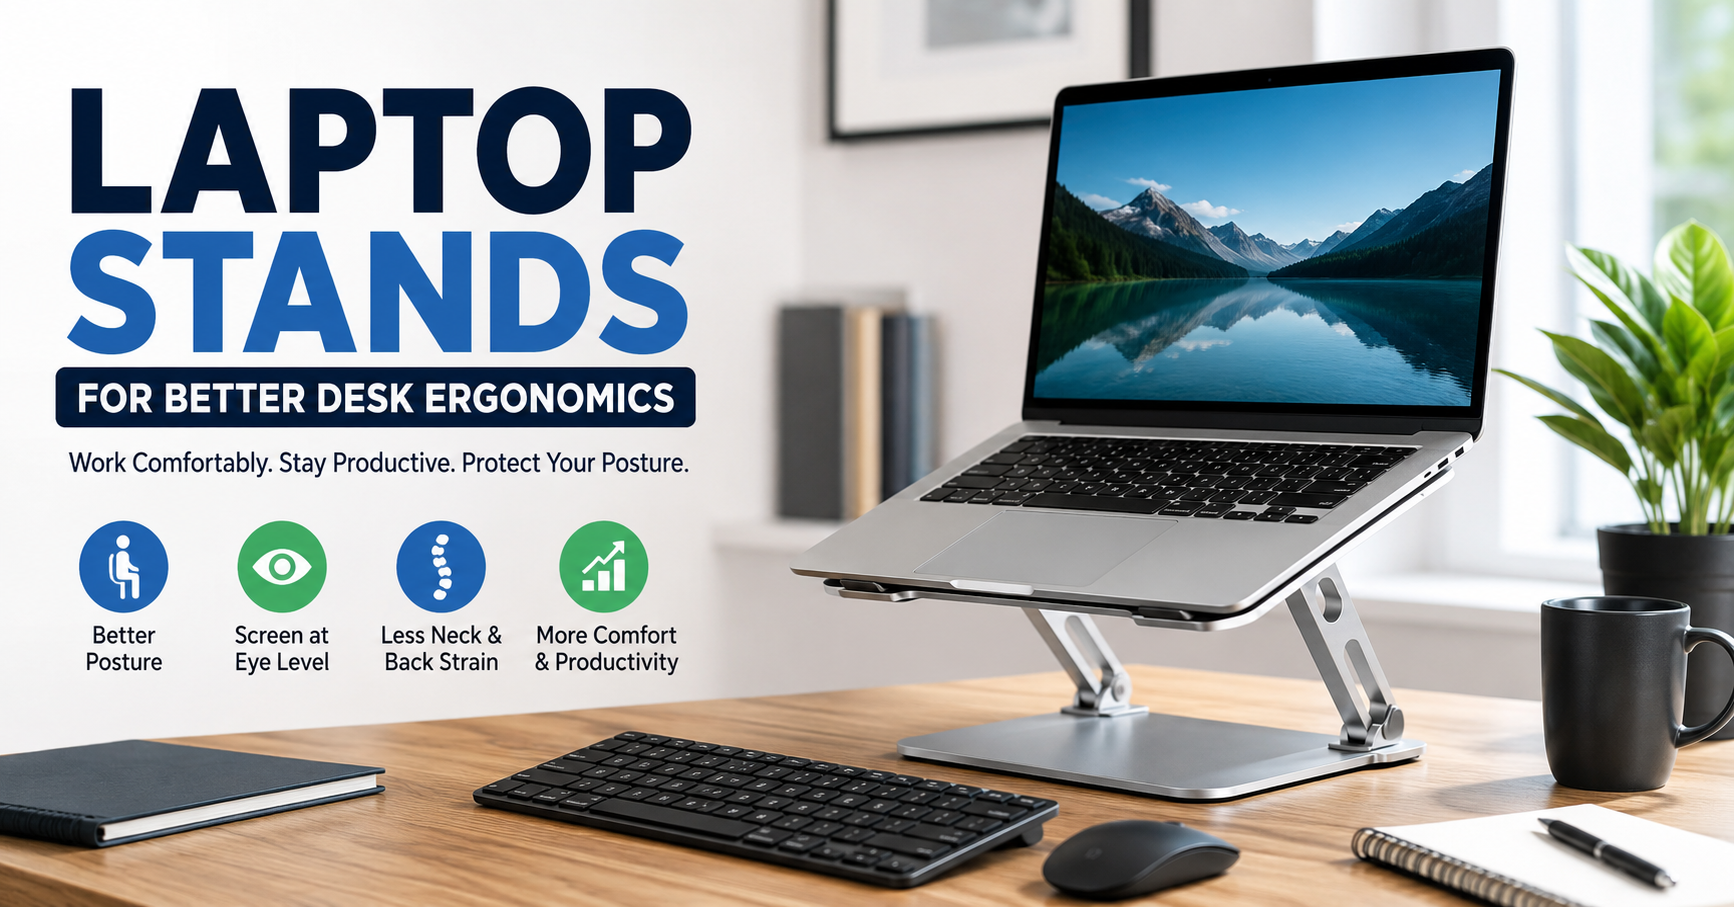
Laptop stand → laptop screen at a comfortable height → external keyboard and mouse on the desk
Instead of choosing between your neck and your wrists, you can position each part independently.
For example, you might place the laptop on a stand so the display is closer to eye level while keeping a compact keyboard lower on the desk.
This simple separation gives you much more control over your workstation.
How to Set Up a Laptop Stand Properly
Buying a stand is only the first step. The way you position it matters.
Here’s the approach I would use.
1. Start With Your Normal Sitting Position
Sit in your chair the way you normally work.
Don’t immediately move the chair or raise the desk. Get comfortable first.
Keep your feet supported and let your shoulders relax.
2. Raise the Laptop Gradually
Place the laptop on the stand and adjust its height.
You don’t necessarily need the top of the display to be perfectly level with your eyes. A comfortable position depends on your screen size, eyesight, chair height, and how far away you sit.
The important thing is to avoid spending the entire session with your head constantly angled downward.
3. Move the Keyboard Away From the Laptop
If the laptop is now considerably higher, an external keyboard becomes useful.
Place it where your hands can rest naturally while your shoulders remain relaxed.
A compact wireless keyboard can be particularly useful if you have limited desk space.
4. Add a Separate Mouse
Trackpads are great for travel, but a mouse can make longer desktop sessions feel more natural for many people.
It also gives you freedom to keep the keyboard and pointing device at a comfortable distance from the elevated laptop.
5. Check Your Screen Distance
Don’t push the laptop so close to your face simply because it’s on a stand.
Move the display far enough away that you can view it comfortably without leaning toward it.
Your preferred distance will depend on your screen size and eyesight.
My Biggest Mistake Was Buying the Wrong Type of Stand
The first thing I would look at now is stability.
A lightweight stand can look great in product photos but feel completely different when you put a laptop on it and start typing.
If you plan to type directly on the laptop, stability becomes especially important. A stand that wobbles every time you press a key gets annoying very quickly.
For a desk setup where you use an external keyboard, you can be more flexible because you’re not constantly touching the elevated laptop.
This is one reason I prefer to think about the entire workstation rather than choosing a stand based only on its appearance.
Fixed vs. Adjustable Laptop Stands
There are two common approaches.
Fixed Laptop Stands
A fixed stand has a predetermined height and angle.
These are often simple, sturdy, and easy to use. If you have one regular desk and one regular sitting position, you may not need anything more complicated.
They’re also a good choice if you want a clean-looking permanent setup.
Adjustable Laptop Stands
Adjustable models allow you to change the height and viewing angle.
These are particularly useful if:
- You switch between sitting and standing
- More than one person uses the workstation
- You frequently move your laptop around
- Your desk or chair height isn’t ideal
- You want to experiment with different screen positions
The downside is that adjustable stands can have more moving parts, so construction quality matters.
Don’t Ignore Your Laptop’s Weight and Size
One mistake that’s easy to make is assuming every laptop stand works equally well with every laptop.
A small 13-inch laptop and a large 16-inch workstation laptop can put very different demands on a stand.
Before buying, check:
- Maximum supported weight
- Compatible laptop size
- Base dimensions
- Height adjustment range
- Stability
- Ventilation around the laptop
- Whether the stand folds for storage or travel
A wide laptop hanging over a small stand may not feel as stable as you expect.
Ventilation Is Another Practical Consideration
Laptop stands can also change the airflow around your computer.
This doesn’t mean you should automatically buy a stand because you believe it will dramatically improve cooling. Cooling depends on the laptop’s design, workload, ambient temperature, and airflow.
But getting the laptop off a flat desk surface can create more space around the underside and vents on some designs.
Just make sure the stand doesn’t block the laptop’s ventilation openings.
If you’re doing demanding work such as video editing, gaming, 3D rendering, or other intensive tasks, pay particular attention to where your laptop’s intake and exhaust vents are located.
A Laptop Stand Can Make a Small Desk Feel Bigger
One unexpected benefit is how much cleaner the desk can become.
When the laptop is elevated, you can use the space underneath it.
On a small desk, that can be valuable.
You might slide a keyboard underneath the raised laptop when you’re not using it. You can also create a little space for a notebook, phone, or other small accessories.
This doesn’t magically create more physical desk area, but it can make the available space easier to organize.
For compact home offices, that’s a worthwhile advantage.
Laptop Stand + External Monitor: Do You Need Both?
Not necessarily.
If your laptop is your primary computer, a good stand and external keyboard can already improve the basic arrangement.
But an external monitor can be useful if you regularly work with multiple windows.
For example, you could use:
Laptop on stand + external keyboard + mouse + external monitor
This gives you two screens while keeping the laptop elevated.
You could use one screen for your main task and the other for email, research, documents, messaging, or reference material.
Operating systems such as Windows and macOS make it relatively straightforward to arrange multiple displays, although the exact settings depend on your device.
What About Using a Laptop Stand Without a Keyboard?
You can.
There’s nothing wrong with occasionally using a laptop stand by itself, especially when reading, watching videos, joining a short meeting, or doing light browsing.
The problem appears when you raise the laptop significantly and then spend hours typing on the elevated keyboard.
That’s when you should pay attention to how your wrists, elbows, and shoulders feel.
For longer typing sessions, separating the keyboard from the screen generally gives you more flexibility.
Common Laptop Stand Mistakes to Avoid
Buying Based Only on Looks
A minimalist aluminum stand can look fantastic in a product photo.
But appearance shouldn’t be your first consideration.
Check stability, dimensions, adjustability, and compatibility before worrying about whether it matches your desk.
Raising the Laptop Too High
Higher isn’t automatically better.
If you have to tilt your head backward or constantly look upward, you’ve simply replaced one uncomfortable position with another.
Make small adjustments and see what feels natural.
Forgetting the Keyboard
This is probably the most common mistake.
A stand changes the laptop’s height, but your hands still need somewhere comfortable to go.
Budget for an external keyboard if you’re building a workstation for long daily sessions.
Choosing a Stand That Takes Up Too Much Space
Some stands have large bases or wide footprints.
That’s not necessarily bad, but it can defeat the purpose if you have a tiny desk.
Measure your available space first.
Ignoring Port Access
Some stands can make it awkward to reach USB ports, charging ports, headphone connections, or other connectors.
If you regularly connect a monitor, USB hub, external drive, or charger, think about cable routing before committing to a particular design.
A Simple Setup for a Small Home Office
If I were putting together a basic ergonomic laptop workstation on a limited budget, I’d keep it simple.
Start with:
- A stable laptop stand
- A comfortable external keyboard
- A mouse
- A reasonably sized desk
- A chair that allows your feet to rest comfortably
- A few minutes spent adjusting everything before starting work
You don’t need a huge desk covered with expensive accessories.
The biggest improvement often comes from positioning the things you already use more thoughtfully.
A Quick 5-Minute Ergonomic Check
Once your setup is assembled, take five minutes to check it.
Check your screen:
Can you view it comfortably without constantly bending your neck downward?
Check your shoulders:
Are they relaxed, or are you unconsciously lifting them toward your ears?
Check your keyboard:
Can you type without feeling like your wrists and hands are being forced into an awkward position?
Check your chair:
Can you sit comfortably with your feet supported?
Check your distance:
Are you leaning toward the screen to read?
Check your laptop:
Is it stable, and are its ventilation areas unobstructed?
If something feels wrong, adjust one thing at a time rather than changing the entire setup.
Is a Laptop Stand Worth It?
For occasional laptop use, you may not need one.
If you spend several hours a day working, studying, writing, coding, designing, or browsing from the same desk, however, a laptop stand can be a relatively simple upgrade.
The important thing is not the stand itself.
It’s the flexibility it gives you.
A laptop combines the screen, keyboard, and trackpad into one fixed package. That’s convenient when you’re traveling, but less convenient when you’re trying to create a comfortable long-term workstation.
A stand lets you raise the display while moving your keyboard and mouse to a more suitable position.
That’s the real reason it can make such a difference.
Final Thoughts
I used to think desk ergonomics required an expensive chair, a huge desk, and a complicated collection of accessories.
After spending more time adjusting my own workspace, I realized that small changes can matter just as much.
A laptop stand is one of those simple changes.
It won’t fix every desk problem, and there isn’t one perfect height or setup that works for everyone. But when you combine a properly positioned stand with an external keyboard and mouse, you have much more control over how your workstation fits your body.
If you’re constantly looking down at your laptop, leaning toward the screen, or trying to make an awkward setup work for hours at a time, moving the screen higher may be one of the easiest things worth experimenting with.
Start small, adjust it gradually, and pay attention to how the whole setup feels—not just how the laptop looks on your desk.